Navigation bar customization

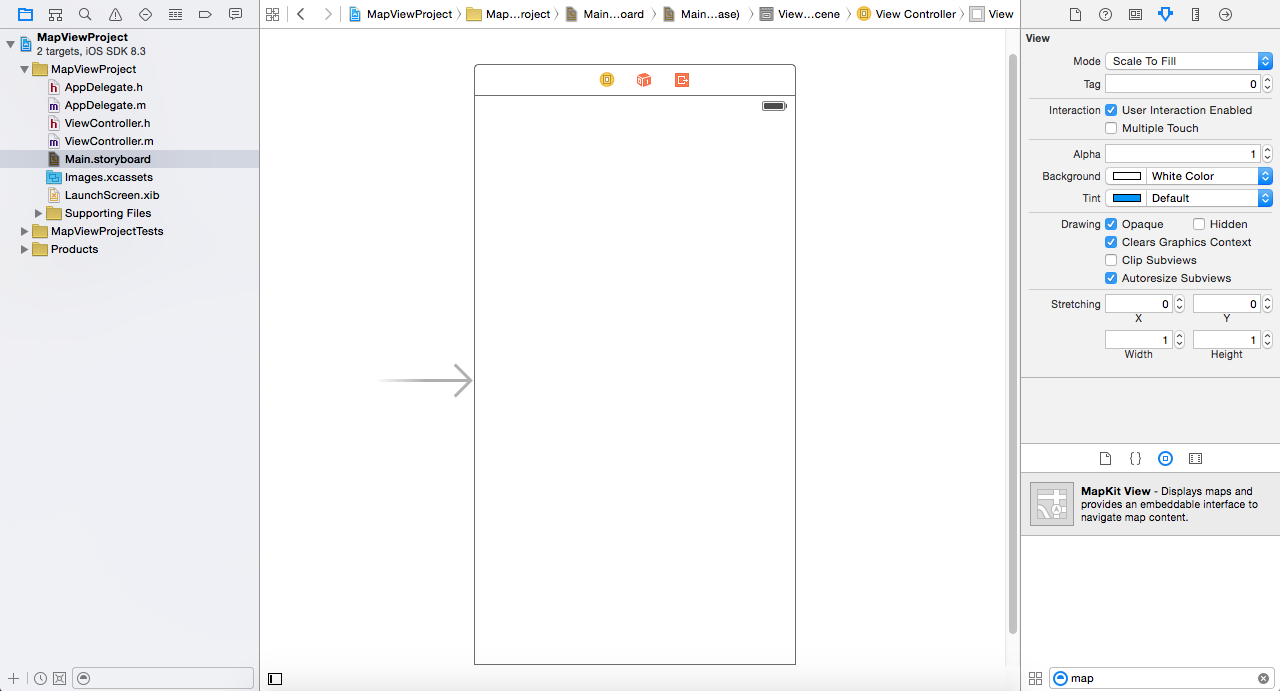
A navigation bar appears at the top of an app screen, below the status bar. Navigation bar contains the navigation buttons of a navigation controller, which is a stack of view controllers which can be pushed and popped.

Let’s do something with Navigation bar

  1. Hide navigation bar

    [self.navigationController setNavigationBarHidden:YES animated:YES];
  2. Change navigation bar color

    self.navigationController.navigationBar.barTintColor = [UIColor redColor];
  3. Change navigation tint color

    self.navigationController.navigationBar.tintColor = [UIColor whiteColor];
  4. Change navigation bar Title

    self.navigationItem.title = @"This is title text";
  5. Change navigation bar title color

    [self.navigationController.navigationBar setTitleTextAttributes: [NSDictionary dictionaryWithObjectsAndKeys:[UIColor colorWithRed:245.0/255.0 green:245.0/255.0 blue:245.0/255.0 alpha:1.0], NSForegroundColorAttributeName,
    [UIFont fontWithName:@"HelveticaNeue-Light" size:18.0], NSFontAttributeName, nil]];
  6. Hide back text from back button

    self.navigationItem.backBarButtonItem = [[UIBarButtonItem alloc] initWithTitle:@"" style:UIBarButtonItemStylePlain target:nil action:nil];
  7. Hide back button

    [self.navigationItem setHidesBackButton:YES animated:YES];
  8. Add left button with Image

    UIImage *image = [[UIImage imageNamed:@"menu.png"] imageWithRenderingMode:UIImageRenderingModeAlwaysOriginal];
    UIBarButtonItem *button = [[UIBarButtonItem alloc] initWithImage:image style:UIBarButtonItemStylePlain target:self action:@selector(menuBtnClicked:)];
    self.navigationItem.leftBarButtonItem = button;
  9. Add right button

    UIBarButtonItem *addButton = [[UIBarButtonItem alloc] initWithBarButtonSystemItem:UIBarButtonSystemItemAdd target:self action:@selector(addBtnAction:)];
    self.navigationItem.rightBarButtonItem = addButton;

That’s It. If you like this post, Please comment below and subscribe this blog.

Leave your comments

How to Generate pem file to setup Apple PUSH Notification

To enable Push Notification for your iOS app, you will need to create and upload the Apple Push Notification Certificate (.pem file) to us so we will be able to connect to Apple Push Server on your behalf.

Follow these steps:

  • Login to apple developer account, click “Certificates” on the left navigation bar. Then, click “+” button.Certificate
  • Select Apple Push Notification service SSL (Production) option under Distribution section, then click “Continue” button.APNS Certificate
  • Select the App ID you want to use, then click “Continue” to go to next step.APP ID Screen
  • Follow the steps “About Creating a Certificate Signing Request (CSR)” to create a Certificate Signing Request.Create CSR File
  • Navigate to Certificate Assistant of Keychain Access on your Mac.Keychain Image
  • Fill in the user Email Address, Common Name and Save to disk and click continue.Keychain
  • Upload the “.certSigningRequest” file which is generated, then click “Generate” button.Generate Certificate
  • Click “Done” to finish the registration.

Then Click “Download” button to download the certificate (.cer file) you’ve created just now.

Double click the downloaded file to install the certificate into Keychain Access on your Mac.

On your Mac, go to “Keychain”, look for the certificate you have just installed. If unsure which certificate is the correct one, it should start with “Apple Production IOS Push Services:” followed by your app’s bundle ID.

Expand the certificate, you should see the private key with either your name or your company name. Select both items by using the “Select” key on your keyboard, right click (or cmd-click if you use a single button mouse), choose “Export 2 items”.

Export P12

Then save the p12 file with name “pushcert.p12” to your Desktop. Now you will be prompted to enter a password to protect it, you can either click Enter to skip the password or enter a password you desire.

Now the most difficult part – open “Terminal” on your Mac, and run the following commands:

cd
cd Desktop
openssl pkcs12 -in pushcert.p12 -out pushcert.pem -nodes -clcerts

We successfully generated .pem file, If you find any difficulties generating .pem please do comment and we will be happy to help.

That’s It. If you like this post, Please comment below and subscribe this blog.

Leave your comments

How to use Font Awesome in Swift

Font Awesome is a famous iconic font. In a case, iconic font is useful because we can use many icons without a lot of small files.

Follow the below steps to integrate Font Awesome in your Xcode project.

  1. Create a project in xcode.
  2. Download the zip font form http://fontawesome.io/Font Awesome Source
  3. Unzip the folder and drag fonts/fontawesome-webfont.ttf into your projectfont awesome drag
  4. Open Info.plist file
    • Add a new key “Fonts provided by application”. This is of type Array.
    • Expand the array, and for Item 0, set the string value to “fontawesome-webfont.ttf”

info.plist file

Congratulations, you have integrated font awesome into your project

How to use Font Awesome

  1. Drop a label on View Controller
  2. Set the font to “Custom”, and the family to FontAwesome
  3. Set the font size to 50Storyboard label
  4. Connect label to your view controller with IBOutlet
  5. Set the label text by using of font awesome unicode.IBOutlet with labelOUTPUT
    output


That’s It. If you like this post, Please comment below and subscribe this blog.

Leave your comments

How to show alert controller

UIAlertController Example

UIAlertController is introduced in iOS 8  and it supports two styles. Using this you can create an alert dialog like UIAlerview or action sheet like UIActionSheet.

1) SIMPLE ALERT DIALOG

Using the below code you can show alert with without any button

UIAlertController * alert= [UIAlertController alertControllerWithTitle:@"Alert" message:@"Thank you using alert controller" preferredStyle:UIAlertControllerStyleAlert];
[self presentViewController:alert animated:YES completion:nil];

2) SIMPLE ALERT DIALOG WITH ONE BUTTON

Using the below code you can show alert with one button

UIAlertController * alert= [UIAlertController alertControllerWithTitle:@"Alert" message:@"Thank you using alert controller" preferredStyle:UIAlertControllerStyleAlert];
[alert addAction:[UIAlertAction actionWithTitle:@"Cancel" style:UIAlertActionStyleCancel handler:nil]];
[self presentViewController:alert animated:YES completion:nil];

3) SIMPLE ALERT DIALOG WITH TWO BUTTONS

Using the below code you can show alert with two buttons with action

UIAlertController * alert= [UIAlertController alertControllerWithTitle:@"Alert" message:@"Thank you using alert controller" preferredStyle:UIAlertControllerStyleAlert];
[alert addAction:[UIAlertAction actionWithTitle:@"Cancel" style:UIAlertActionStyleCancel handler:nil]];
[alert addAction:[UIAlertAction actionWithTitle:@"Login" style:UIAlertActionStyleDefault handler:^(UIAlertAction * action){
 //your code here
 }]];
[self presentViewController:alert animated:YES completion:nil];

4) CREATE AN ACTION SHEET WITH ACTIONS

Using the below code you can show actionsheet with two buttons with action

UIAlertController * alert= [UIAlertController alertControllerWithTitle:@"Action sheet" message:@"Thank you using action sheet" preferredStyle:UIAlertControllerStyleActionSheet];
[alert addAction:[UIAlertAction actionWithTitle:@"Cancel" style:UIAlertActionStyleCancel handler:nil]];
[alert addAction:[UIAlertAction actionWithTitle:@"Login" style:UIAlertActionStyleDefault handler:^(UIAlertAction * action){
 //your code here
 }]];
[self presentViewController:alert animated:YES completion:nil];

5) CREATE AN ALERT DIALOG WITH USERNAME AND PASSWORD FIELDS.

To add a text field you can use the method addTextFieldWithConfigurationHandler.
Text fields can be added to only type UIAlertControllerStyleAlert.

UIAlertController * alert= [UIAlertController alertControllerWithTitle:@"Alert" message:@"Enter your login Credentials" preferredStyle:UIAlertControllerStyleAlert];
[alert addTextFieldWithConfigurationHandler:^(UITextField * _Nonnull textField) {
 textField.placeholder = @"Username"; //for username
 }];
[alert addTextFieldWithConfigurationHandler:^(UITextField * _Nonnull textField) {
 textField.placeholder = @"Password"; //for passwords
 textField.secureTextEntry = YES;
 }];
[alert addAction:[UIAlertAction actionWithTitle:@"Cancel" style:UIAlertActionStyleCancel handler:nil]];
[alert addAction:[UIAlertAction actionWithTitle:@"Login" style:UIAlertActionStyleDefault handler:^(UIAlertAction * action){
 //your code here
 }]];
[self presentViewController:alert animated:YES completion:nil];

You can find Swift Version here

Reference: Apple Documenation

That’s It. If you like this post, Please comment below or subscribe this blog.

Leave your comments


How to detect carrier connection type (3G / EDGE / GPRS)

Apple reachability class respond either your device is connected to Wi-Fi or WWAN(Cell).

Now, the question is “How to check network 2G or 3G in IOS”. Here is the code to detect 2G, 3G, 4G.

First of all, add CoreTelephony framework to your project.

In your AppDelegate.h Class, Import below class

#import "Reachability.h"
#import <CoreTelephony/CTTelephonyNetworkInfo.h>
#import <CoreTelephony/CTCarrier.h>

Add the below code in AppDelegate.h file,

@property (nonatomic)NetworkStatus remoteHostStatus;
@property (nonatomic)Reachability *reachability;

in AppDelegate.m file, add this

@synthesize remoteHostStatus;
@synthesize reachability;


reachability = [Reachability reachabilityForInternetConnection];
[reachability startNotifier];
remoteHostStatus = [reachability currentReachabilityStatus];

if(remoteHostStatus == NotReachable) {
   NSLog(@"You have not internet");
}else if (remoteHostStatus == ReachableViaWiFi){
   NSLog(@"Connected via wifi");
}else if (remoteHostStatus == ReachableViaWWAN){
  NSLog(@"connected via cell");
  CTTelephonyNetworkInfo *netinfo = [[CTTelephonyNetworkInfo alloc] init];
  NSString *telCarrier = [[netinfo subscriberCellularProvider] carrierName];
  NSLog(@"Your mobile carrier = %@",telCarrier);
  if ([netinfo.currentRadioAccessTechnology isEqualToString:CTRadioAccessTechnologyGPRS]) {
  NSLog(@"2G");
} else if ([netinfo.currentRadioAccessTechnology isEqualToString:CTRadioAccessTechnologyEdge]) {
  NSLog(@"2G");
} else if ([netinfo.currentRadioAccessTechnology isEqualToString:CTRadioAccessTechnologyWCDMA]) {
  NSLog(@"3G");
} else if ([netinfo.currentRadioAccessTechnology isEqualToString:CTRadioAccessTechnologyHSDPA]) {
  NSLog(@"3G");
} else if ([netinfo.currentRadioAccessTechnology isEqualToString:CTRadioAccessTechnologyHSUPA]) {
  NSLog(@"3G");
} else if ([netinfo.currentRadioAccessTechnology isEqualToString:CTRadioAccessTechnologyCDMA1x]) {
  NSLog(@"2G");
} else if ([netinfo.currentRadioAccessTechnology isEqualToString:CTRadioAccessTechnologyCDMAEVDORev0]) {
  NSLog(@"3G");
} else if ([netinfo.currentRadioAccessTechnology isEqualToString:CTRadioAccessTechnologyCDMAEVDORevA]) {
  NSLog(@"3G");
} else if ([netinfo.currentRadioAccessTechnology isEqualToString:CTRadioAccessTechnologyCDMAEVDORevB]) {
  NSLog(@"3G");
} else if ([netinfo.currentRadioAccessTechnology isEqualToString:CTRadioAccessTechnologyeHRPD]) {
  NSLog(@"3G");
} else if ([netinfo.currentRadioAccessTechnology isEqualToString:CTRadioAccessTechnologyLTE]) {
  NSLog(@"4G");
}

That’s It. If you like this post, Please comment below or subscribe this blog.

Leave your comments

How to pass object with NSNotificationCenter

Hi,
There are so many reason to use NSNotification. Now i am writing about how to use NSNotificationCenter in iOS.

First make 2 methods in ViewController.

- (void)registerNotification {
    [[NSNotificationCenter defaultCenter] addObserver:self selector:@selector(receiveNotification:) name:@"myNotification" object:nil];
}
- (void) receiveNotification:(NSNotification *) notification
{
    if ([[notification name] isEqualToString:@"myNotification"])
        NSLog (@"Successfully received the test notification!");
}

in ViewWillAppear Call registerNotification method

-(void)viewWillAppear:(BOOL)animated{
   [self registerNotification];
 }

Now, you can call myNotification from any ViewController by using below code,

[[NSNotificationCenter defaultCenter]postNotificationName:@"myNotification" object:self];
 

If you want to pass data into notification, You’ll have to use the “userInfo” variant and pass a NSDictionary object.

NSDictionary* userInfo = @{@"Name": @(@"Ashutosh Kumar")};
NSNotificationCenter* notify = [NSNotificationCenter defaultCenter];
[notify postNotificationName:@"myNotification" object:self userInfo:userInfo];

and need some change in receiveNotification method

- (void) receiveNotification:(NSNotification *) notification
{    if ([[notification name] isEqualToString:@"myNotification"])
        NSDictionary* userInfo = notification.userInfo;
        NSString* GetName = userInfo[@"Name"];
        NSLog (@"Successfully received test notification! %@", GetName);
}

That’s It. If you like this post, Please comment below or subscribe this blog. Leave your comments

MapView and Annotation in iOS

In Xcode 6.3, go to File\New\New Project, select iOS\Application\Single View Application, and click Next.

Add New Project

On the Choose option for your new project screen,  Fill the all information about your project and click Next.

Choose your project

Save Your Project.

Click on Main.storyboard to bring up Interface Builder.

MainStoryboard

From the Object library, Select MapKit View and drag to the screen and fit as you want.

Mapkit View

Add the MapKit framework to your project, In Xcode 6.3, click on the name of your project, in General Tab, Go bottom of the screen. Locate Linked Frameworks and Libraries, click + button below.

Locate Framework and Libraries

In the “Choose Framework and Libraries” popup, typeMapKit, Select MapKit.Framework and click on add.

Add MapKit Framework

Click on Assistant Editor Button, then click on the Map Screen and hold control key and drag it to .h file and Set IBoutlet.

Assistant Editor


Go to ViewController.h file and import <MapKit/MapKit.h>

Import MapKit

Run the project. You will see map on the device.

Run on Simulator

Open ViewController.m, and add the following underneath the #imports and before the @implementation:

#define METERS_PER_MILE 1609.344


Now synthesize the mapView in ViewController.m file.

@synthesize mapView;

Now implement viewWillAppear ,

- (void)viewWillAppear:(BOOL)animated {  
 
    CLLocationCoordinate2D zoomLocation;
    zoomLocation.latitude = 28.632464;
    zoomLocation.longitude= 77.221023;
 
  
    MKCoordinateRegion viewRegion = MKCoordinateRegionMakeWithDistance(zoomLocation, 0.5*METERS_PER_MILE, 0.5*METERS_PER_MILE);
 
 
    [mapView setRegion:viewRegion animated:YES];
}

Run your Project again, you will find your entered location on map with zoom.

Map Run on simulator

Now Drop Pin on the Map

Add the below code in the viewWillAppear Method.

MKPointAnnotation *point= [[MKPointAnnotation alloc]init];
point.coordinate = zoomLocation;
point.title = @"Where i am?";
point.subtitle = @"I am Here!!";
[self.mapView addAnnotation:point];

Run the Project, you will find pin on the map.

Map Annotation in iOS

That’s It.

If you like this post, Please comment below or subscribe this blog.

Leave your comments

How to pass data back to previous ViewController using PresentViewController

Let suppose, We have to pass data from B to A ViewController. Here, I am using Present View Controller. When you  dismiss PresentViewController, Data will back to Parent View Controller.

In the B viewController.h File,

@protocol senddata <NSObject>
-(void) Passdatatoback:(NSString*)Passdataback;
@end

Also set the property in .h file,

@property(nonatomic, assign)id delegate;

Now, move to B viewController.m File,

@synthesize delegate;

and set a method,

-(void)viewWillDisappear:(BOOL)animated
{
[delegate Passdatatoback:@”This is data which you want in A ViewController”];
}

Now, Move to A viewController,

Create a same method which you have create in B ViewController.m file.

-(void) Passdatatoback:(NSString*)Passdataback{
UIAlertView *alert = [[UIAlertView alloc] initWithTitle:@”Your string Data Showing” message:Passdataback delegate:self cancelButtonTitle:@”OK “ otherButtonTitles:nil];
 [alert show];
}

In A ViewContrller.m file, When You go in B ViewController,

BViewConoller *BVC = [[BViewConoller alloc]init];
BVC.delegate= self;
[self.navigationController presentViewController:BVC animated:YES completion:nil];

That’s It.

If you like this post, Please comment below or subscribe this blog.

Leave your comments